I discovered the wonderful product Eye Kandy while attending Swiss Days. I have to admit I am like a 5 year old when it comes to glitter. I just can't seem to help myself. I purchased several colors for myself and I have been itching to share a quick demo with you.
I hope you can see why it has so quickly become one of my favorite cosmetics now.
I get distracted by things that sparkle, don't you? This is an ubber easy and fast project I did with my nieces this weekend.
Supplies
-canvas tote -glitter -Tulip Glitter Bond -freezer paper -iron -exacto knife/mini scissors -pen or pencil -paint brush -small bowl or container for mixing glitter *optional -plain paper *optional
Trace your image onto freezer paper and cut it out. Keep the stencil and any small pieces needed to complete the image aside. It helps to mark the pieces you can throw away with crayon or something. Iron the shiny side of the freezer paper to your tote or a shirt or whatever you want to glam up. Brush a thick coat of Tulip Glitter Bond over your stencil. Dust a heavy layer of glitter of the glitter bond. (I mixed black and yellow glitter for a two tone effect.) Shake the loose glitter onto a plain sheet of paper and funnel it back into the glitter container. Let the glittered tote sit for 5 min. or dry it with a blow dryer on low. (I applied a second coat of glitter bond as a top coat to protect the glitter from flaking.) When the glitter is dry enough to touch peel off the freezer paper. (I discolored my tote by pressing the iron on too long so to disguise the discoloration I dusted the edges and creases of the bag with an antiquing stamp pad.) Let cure 24 hours and do not wash until after 72 hours. All done.
Before I even had the chance to post pictures of the new collection banners I started getting requests for hair and makeup tutorials on each style. I decided to start with the Simmer Town makeup application since that's the one ladies have been requesting the most so far. The pictures are a preview of the end result. Beneath the video is a list of products I used in this video.
-Maybelline Cover Stick, Corrector Concealer (for red blemishes or dark circles) - Smashbox Photo Finish Color Correcting Primer (Adjust) - Mac Studio Finish Concealer w/ Bare Minerals Concealer Brush -Almay Smart Shade, Smart Balance liquid foundation w/ Saphora Professional Stippling Brush -Mac Shadebender eye shadow primer - Urban Decay Alice in Wonderland Palette W/ Two Faced Teddy Bear Hair Brushes
Colors:
Underland (purple)
Queen (Magenta)
Mushroom (Medium Gray)
Jabberwocky (Black)
-Urban Decay Glide on Eye Pencil (Black) - Saphora Small Eye Shader Blending Blush (eyebrows & eyeliner) - Bare Minerals Blush/Bronzer w Two Faced Teddy Bear Hair Blush Brush -Mac Zoom Lash Black Mascara -Smashbox Lip Gloss Palette (Nude)
If you are wondering what fabulous color I'm sporting on my nails it's from Hopscotch Kids (non toxic) Water Colors. The color is Bubble Gum, Bubble Gum in a dish and I am doing a Hopscotch review and giveaway really soon!!!!
I think that was everything. Hope you use it, hope you you like it!
I just realized that yesterday was the first of July :(
How fast time flies. This tutorial was meant for June since June was devoted to braids. You can pretend it's still June while you're watching though. I am just happy I got to it this week!
This tutorial has a little trick at the end I think you're gonna like...
This is Fletcher, I picked him up at a thrift store to use as a prop for the website photo shoot.
This is Fletcher after his makeover. I decided to keep him since my kids are quite fond of him. Fletcher is hefty, almost twice as heavy as me actually so he won't be going anywhere soon.
Thanks for contributing your colorful personality to my studio Fletch!
I guess it would have been nice of me to include his name story...
In the thrift store I spotted the plaster lion and say "Oh, we NEED him!". I tell the nice man in the Goodwill vest that we would like to purchase him and he writes me a ticket, I pay for my statue and pull my car around to the back and the nice man installs the statue in my car which immediately sags. I still didn't appreciate his mass until I myself and another non masculine friend decide to remove him from my car on our own. "Holy fetch!!" I say as we nearly drop the friendly fellow to the concrete floor. He underwent his finely painted makeover right there behind my car where we sat him down. After his last spot was sweetly painted I knew he was gonna need a name and none came to mind except for "Holy Fetch! He's freakin heavy" but I thought Fetch was a bit profane for a name so I changed it to Fletch of Fletcher for long. I know, that was a tad long for such a boring name story. Sorry.
Here is a tutorial on how to do a variation of a reverse braid that creates a unique looking ridge along the braid. Lot's O' fun but a little bit harder than it looks.
You guys have emailed me and asked me to do tutorials on the hair products I use and my makeup application so I did a quick video on my basic makeup regime. I almost never wear makeup every day so when I do I make sure I exfoliate and use a good moisturizer with spf. The video tells the rest. Hope it's what you wanted :)
Don't worry I will still be posting a braid video this week and a product info video will be coming soon as well.
I thought I would start the month of braids off with something simple. I saw Rachel Mcadams sporting a hairstyle similar to this and I have always wanted to try it.
Yesterday I was playing around with my hair and decided to try a Grecian hairstyle on my mCshorty hair and came up with a little something that looks like this...
I love the Grecian ponytail but my hair will never be long enough to try it so a new hairstyle was born using an unexpected instrument.
This project originated from the glasses. I found them, LOVED them, and wanted to share them. So I sat down to take some pictures of me wearing them so I could post them on the blog for you to see. AND THEN, as I was sitting there staring back at myself, my inner peculiar breed of dork let loose and I went a little over board. So there I was dorkin it up when I had the idea to turn my dork art into POP art. If pop art is your thing this is incredibly fast and easy.
All I did is crop all the images I wanted so they were all the same shape and size. Then in photoshop I laid them out in rows of 3 and flatten the images into 1 single layer.
I posterizes the image at a 5. After that I changed the color hue to a different color several times saving a copy of each color. Then I cut and pasted the shots I wanted and arranged them in different colors on one NEW image and again flattened the layers into 1 single image.
And finally I used crosshatch in the filter gallery to make the pictures look like they were painted. I love the filter gallery because you can adjust the intensity of the filter which is so much fun to play with. The more knowledge you have in photoshop the easier this is but either way I hope you enjoyed it. I don't plan on using this one of me in my house but I do want to make one of Kingston for his neglected room. Ya dig?
{I think I need to blow up one of the originals to a life size copy for Bret so he can admire the dork that shines in me, SUPERSTAR!}
When I first saw this fabulous idea for reusing a vintage suitcase as a pet bed on Peppertowne I immediately set out to find the perfect case for Cheeky. I hit the mother load and found a bunch but ultimately went with this green one. The only supplies I needed after that was the legs from Home Depot for 97 cents {bonus} and the rest I already had. I thought it would be a while before she adapted to her new bed but she hopped up moments after I set it down. Bliss! Every once in a while I like to do some creating outside of work. This was super easy and fun!
You can purchase a vintage suitcase pet bed from this AWESOME etsy shop {HERE}.
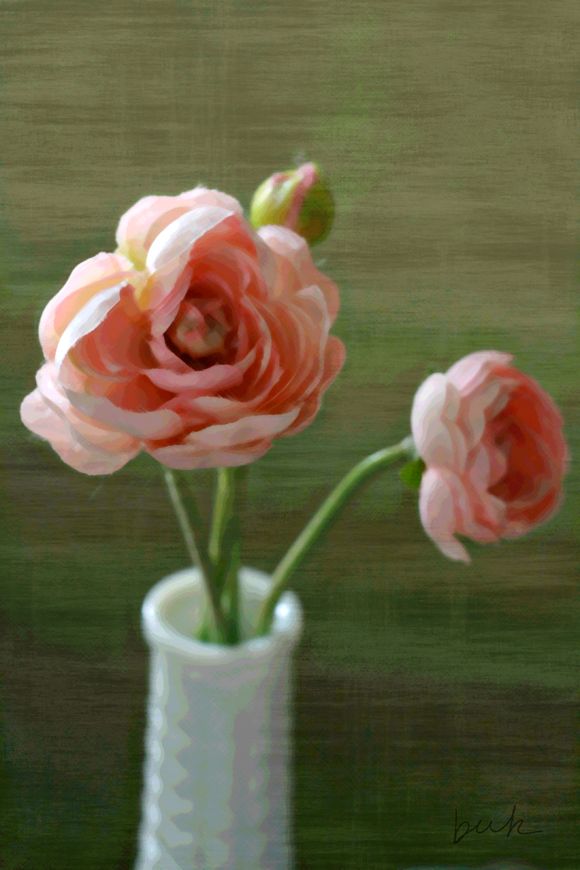
This is a more recent digital print I made and I think it might be my favorite. I can't get enough of the peach, pinks and corals. I might need to have an enlargement made for the studio.
I blogged about a few side tables I picked up for under $5 at Goodwill months ago and I finally took some time to refinish them for our sitting room. I had a feeling it would be a pleasant goodbye to the old drab finish and hello to a pretty crisp white. They are perfect for our little room and I simply love them.
In other news, a lovely friend of mine spent her evening helping me paint the studio last night. If Cheery were a color it would look like THIS {according to Home Depot anyways}.
I feel cheery already! I was so happy to say hello to my bright and colorful room this morning. Thank you all for voting on the color poll last week to help me narrow it down. I hope you like the modified version of Whippy Cake pink I selected. Now I can enjoy working in the studio with this new blissful color.